Before we get into how to set up a custom proxy, it is essential to know why it's necessary and why you can prefer it over the In-built proxy.
Setting up a custom proxy can help in
✅ Managing multiple LinkedIn accounts.
✅ Needing a stable IP address for account safety.
✅ Targeting prospects in specific regions.
✅ Avoiding LinkedIn detection for aggressive outreach.
Steps to Follow
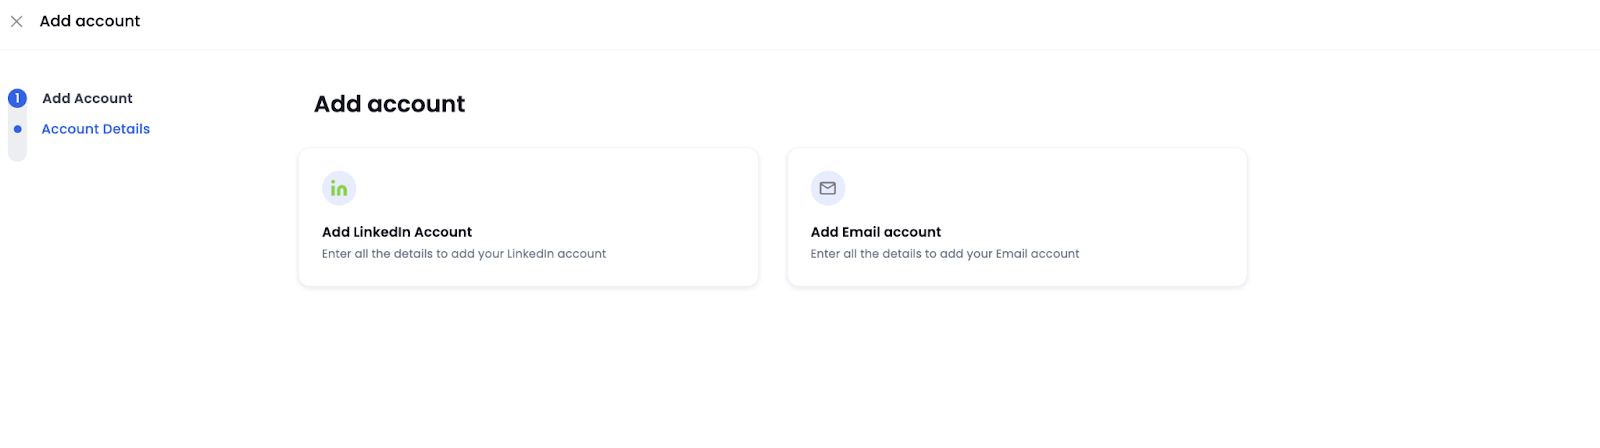
- In the Add account screen, select Add LinkedIn Account.
Enter your LinkedIn username and password
Uncheck the Use in-built proxy checkbox.
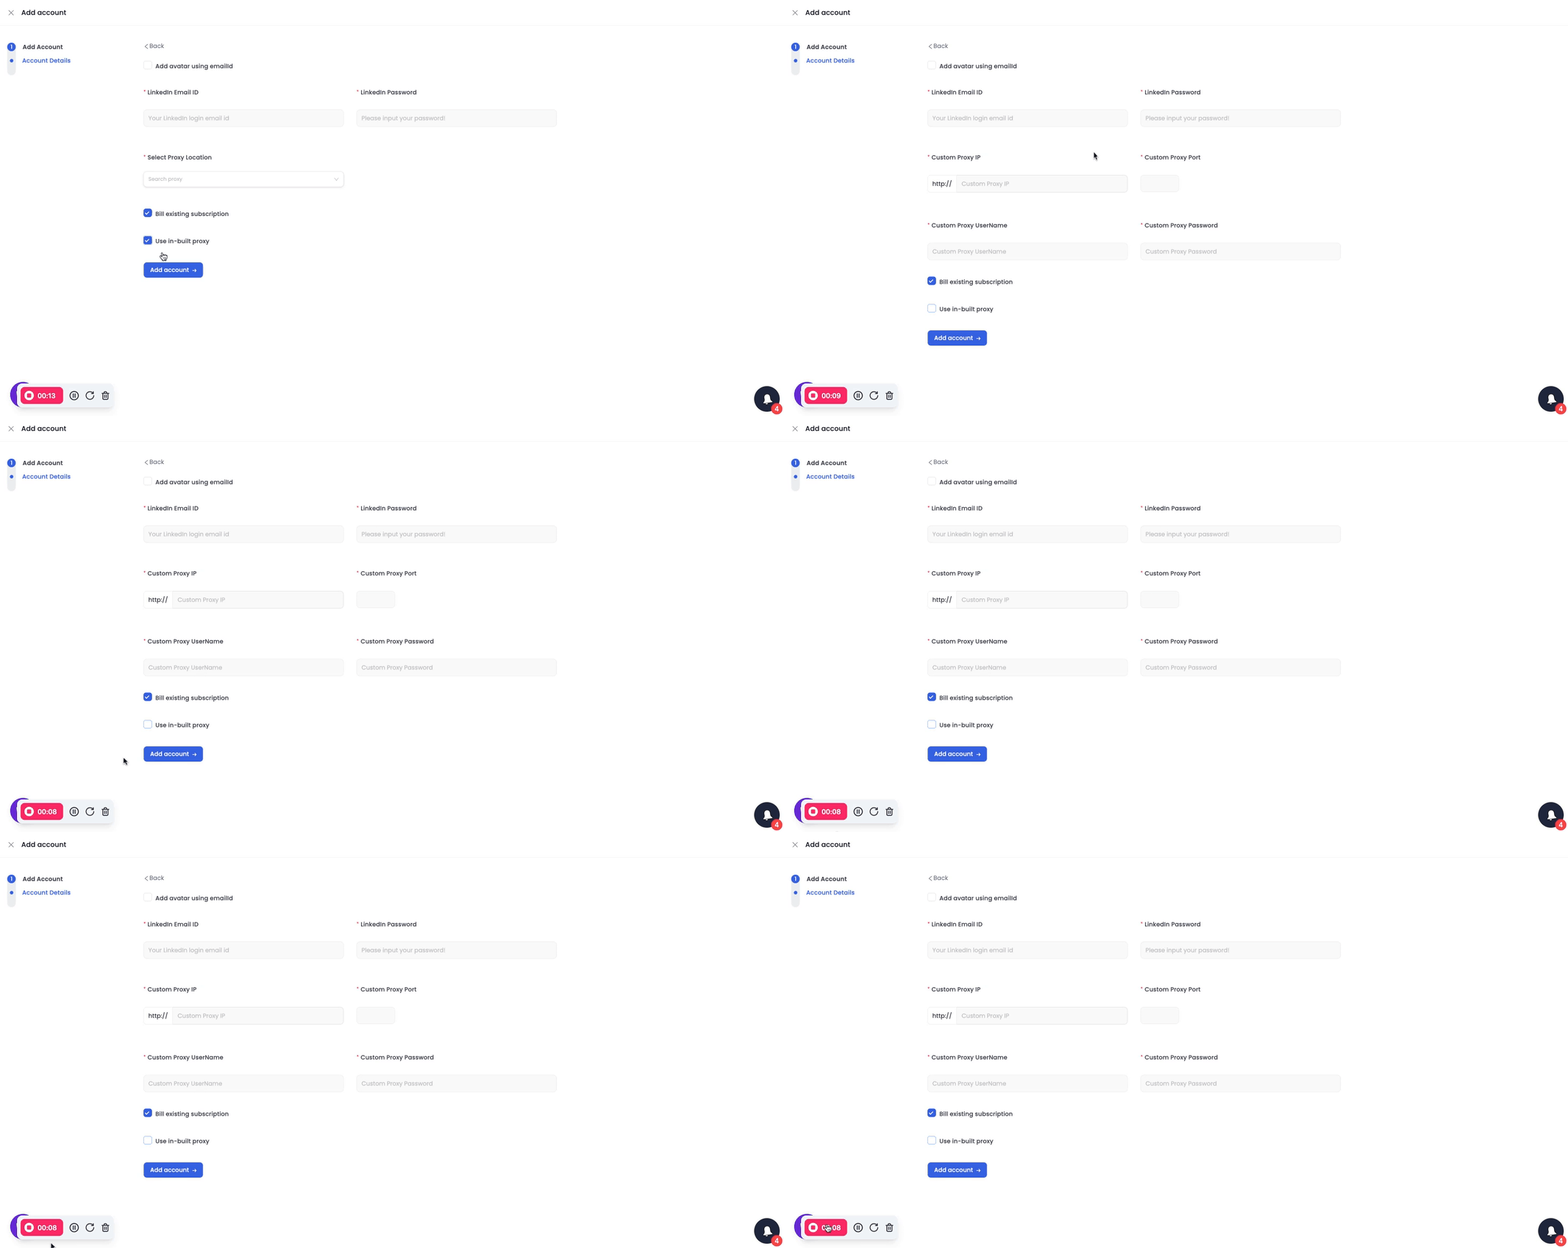
- Add your custom IP address in the below fields.
For example, if your custom IP address is http://yv5yr:rz180r9m@139.5.181.138:5432
Here is how you can split it to fill in the fields shown in the below image
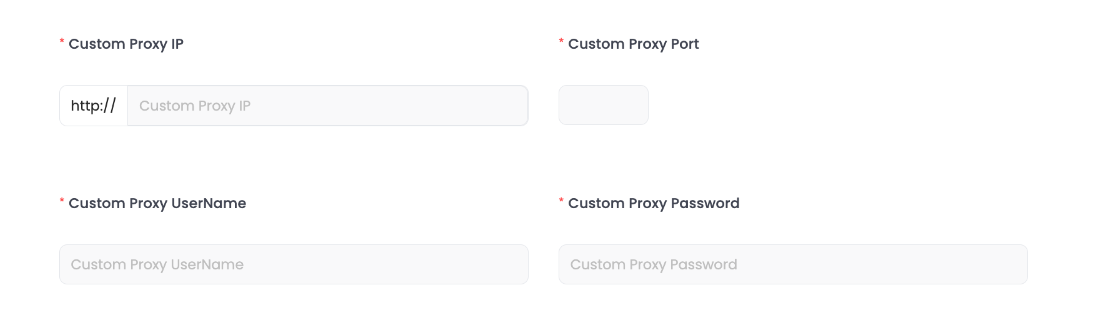
Custom Proxy IP: 139.5.181.138
Custom Proxy Port: 5432
Custom Proxy Username: yv5yr
Custom Proxy Password: rz180r9m
That is all.
Once done, click Add Account, and you now have a custom proxy for safer, scalable, and efficient LinkedIn outreach! 🚀
**