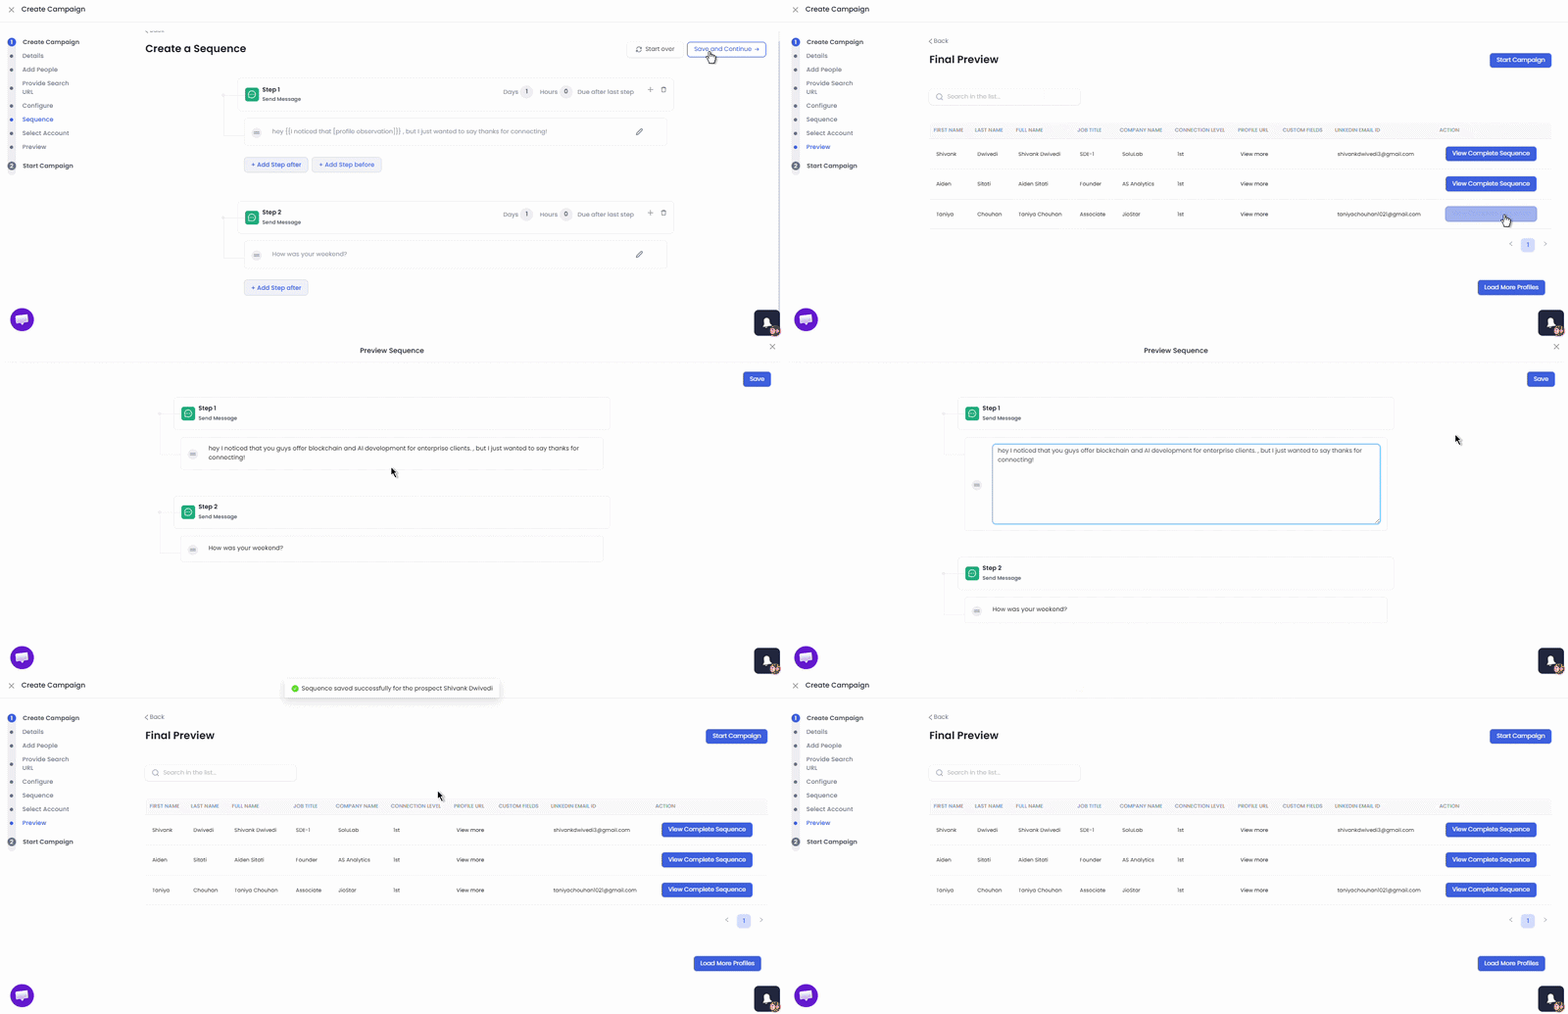
This guide explains how to create a CSV campaign in Lead Finesse and map custom fields for personalized outreach.
Step 1: Create a Campaign in Lead Finesse
Navigate to Campaigns page, click on the “Campaigns” tab.
Click on “Create Campaign”.
Choose User Type: Select “I’m an advanced user”.
Enter a name for your campaign and save.
Step 2: Add Leads via CSV
Add Profiles: In the “Add Profiles” section of your campaign, select “Import from CSV”.
Upload CSV: Upload your CSV file containing the leads.
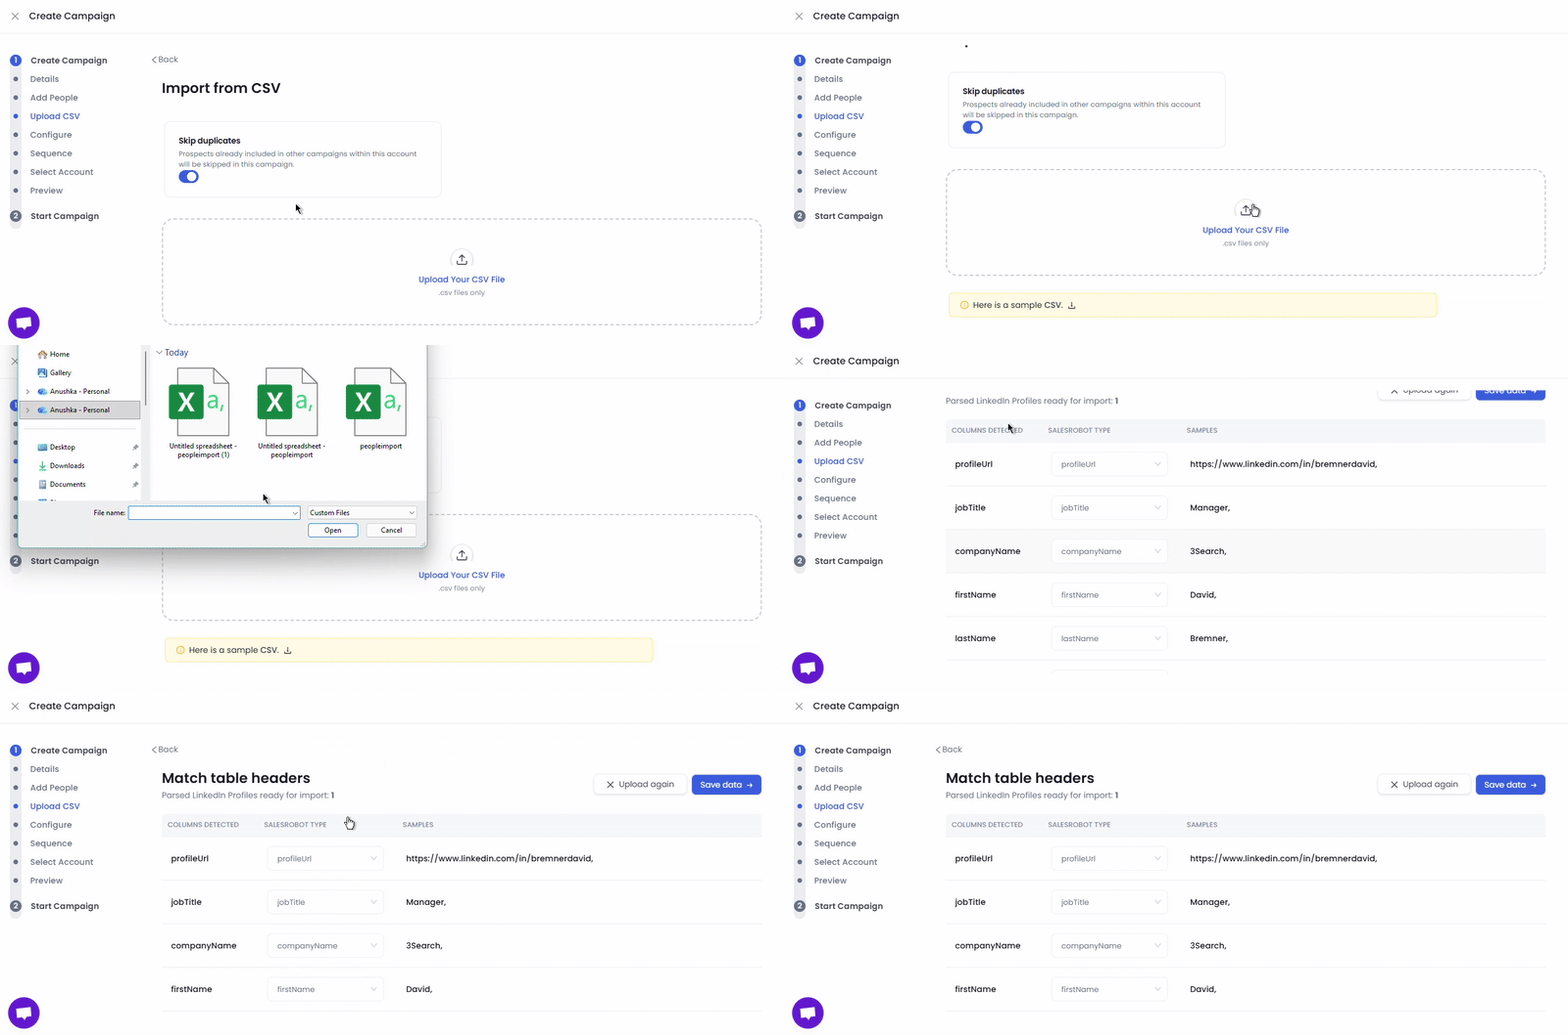
Map Fields: Map the CSV columns to the relevant lead fields in Lead Finesse.
Review: Ensure all data is correctly mapped.
Configure Settings: Set up your campaign settings as needed.
Create Sequence and Launch: Save your campaign and launch it when ready.
How to Map Custom Fields
If your CSV includes extra columns not in Lead Finesse (e.g., a “Location” column), follow these steps:

Go to Lead Finesse Campaigns and click “Create Campaign”.
In the “Add Profiles” section, select “Import from CSV”.
Upload your CSV file.
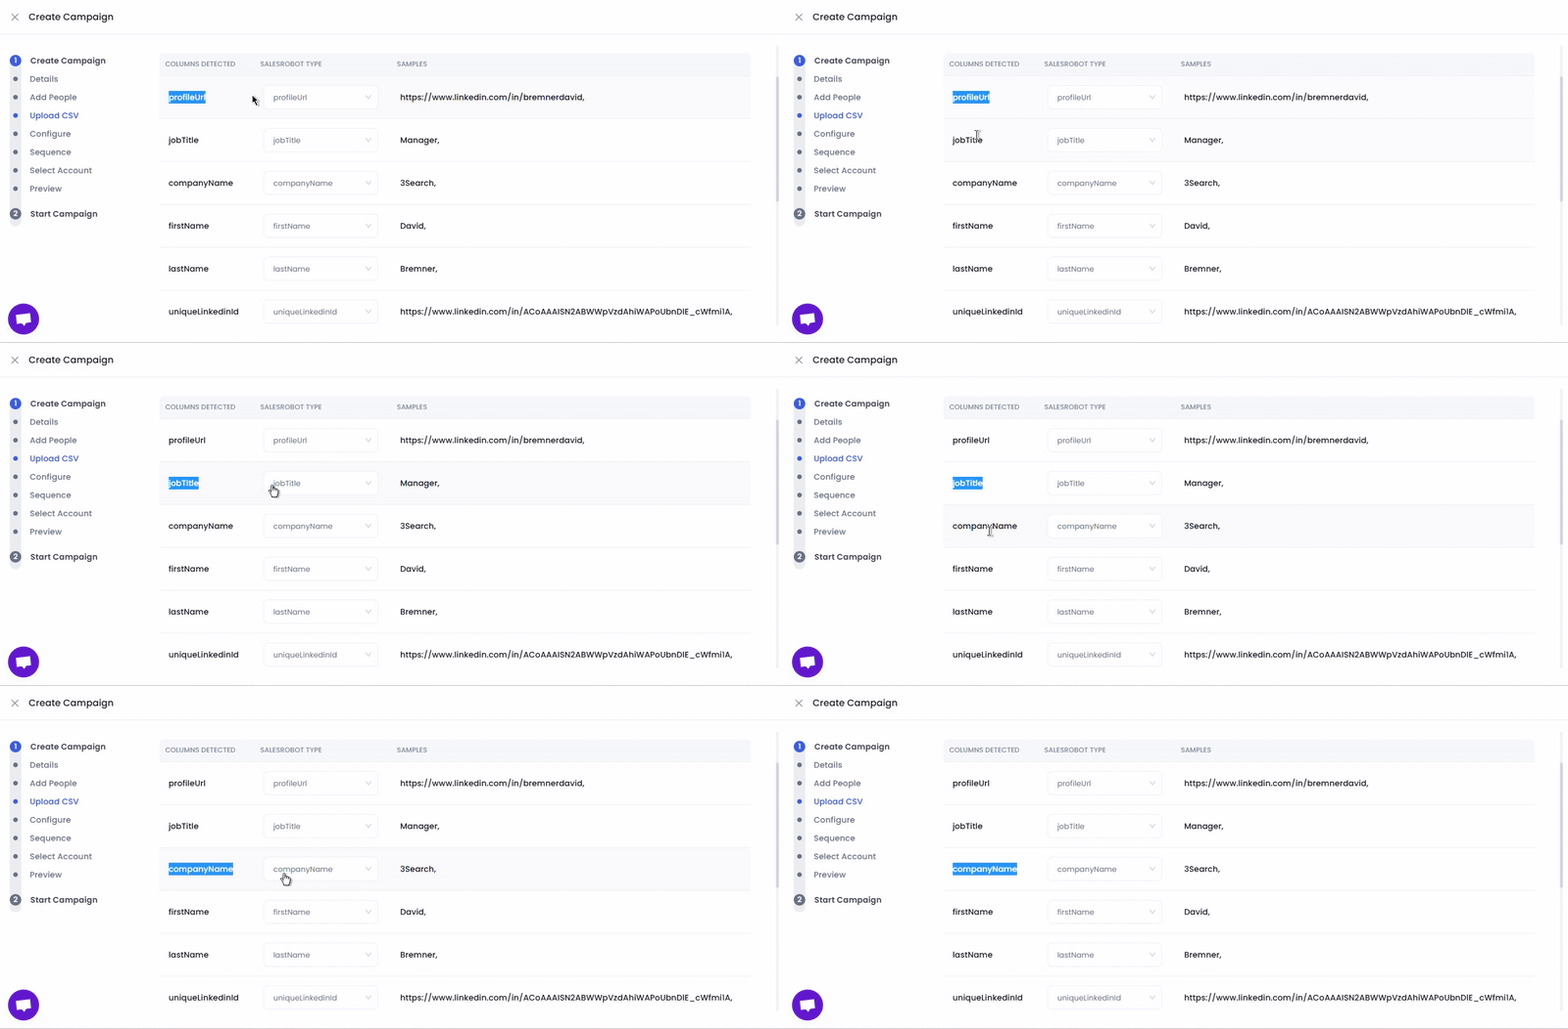
Once uploaded, check if the columns in the csv have been correctly mapped with the Lead Finesse column type.
For example:

- For custom columns, at first, it may show something like this:

- Now you just need to:
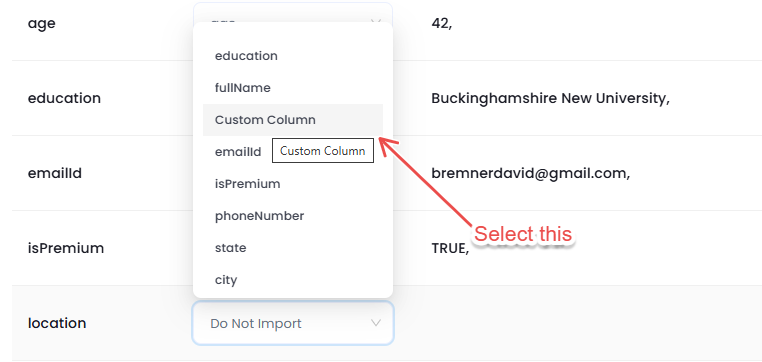
- And done, your CSV has been mapped!

- Give it a final review:
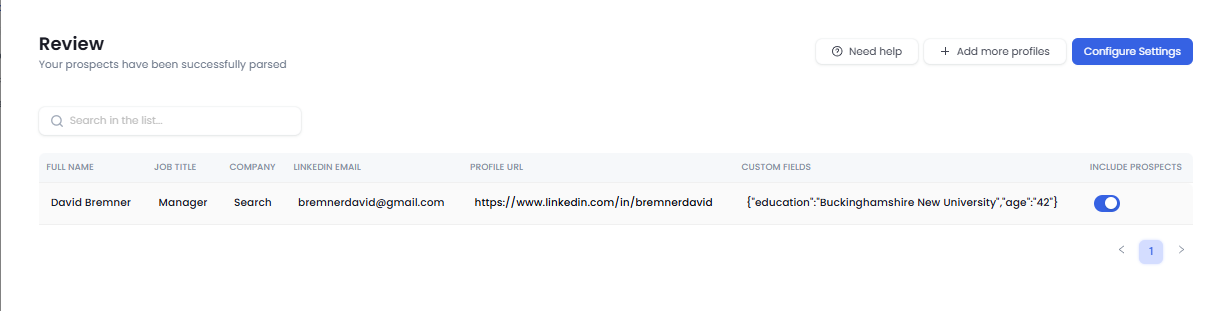
And then head over to the "**Configure settings" **page to set your campaign settings.
To create your campaign sequence, you get three options:
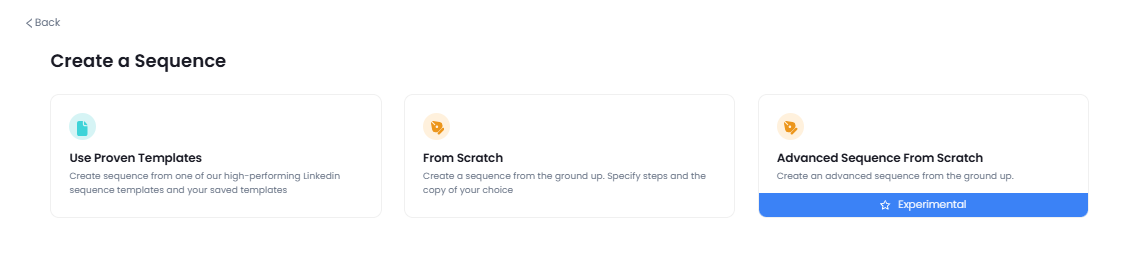
Set your campaign steps as you like, and you've created your sequence, click Save and Continue.
On the next page, select any prospect and click View Complete Sequence to preview the entire sequence exactly as that prospect will receive it. Review your messages one final time, make any necessary edits, and then launch your campaign.